|
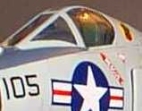
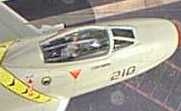
Amazing Canopies |
||
|
||
|
|
|
Amazing Canopies |
||
|
||
|
|
|
|
 |
 |
|
|
|
No matter where I am, sunning on the French Rivera, opening night on Broadway, or attending that chic Hollywood premiere, people ask me, "Richard, how do you get your canopies so clear and sparkling, Daaarling?" Unfortunately, when my Sho Lin master revealed the secret to me in an alcohol induced trance, I promised I would carry his canopy secret to the grave, or I would travel the country dressed as Captain Picard's evil twin selling WD-40 pops at the Borg section of Star Trek conventions. When Martha Stewart called Master Bubba, the Buddha, because she had to know how I got those Gem like canopies, Master Bubba released me from my vow! (Whew!) So now, the secret as it was revealed to me on high on a mountain in the Qinghai province (whose similarity to Table Rock NC was astounding!). Actually,
the secret is a radical modification of a technique described by Rodney Williams
in the March 1995 issue of Fine Scale Modeler. The essence of the modifications
is my article is about one page long. The process consists of two parts: one and
two. PART
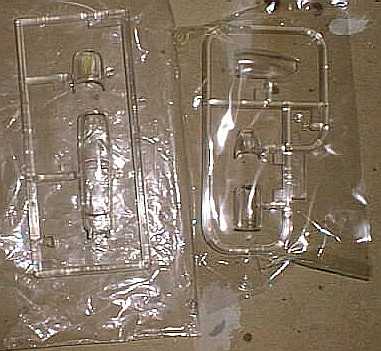
1 Preparation. A) When you open your model, if the clear trees aren't individually wrapped, take the clear parts and place them in a plastic sandwich bag. If the parts have broken off the tree, place each part in its own bag. We don't want them to rub against each other and get scratched.
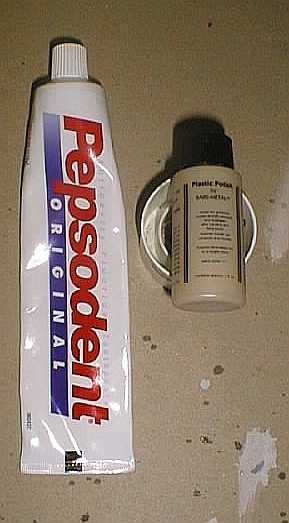
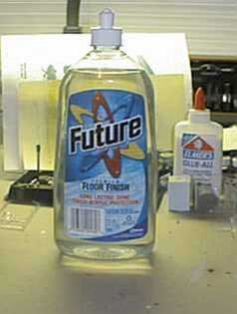
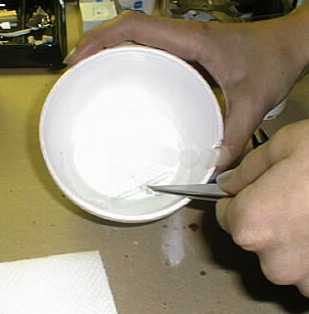
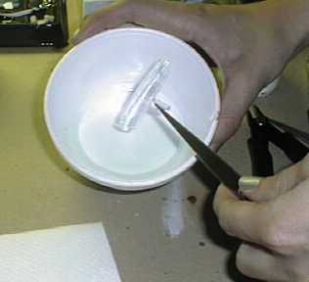
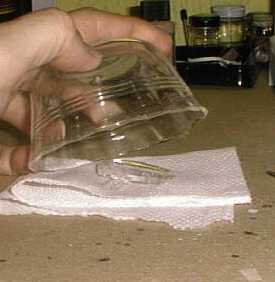
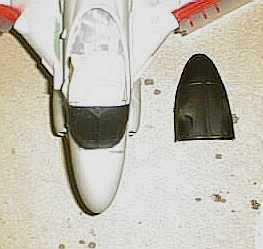
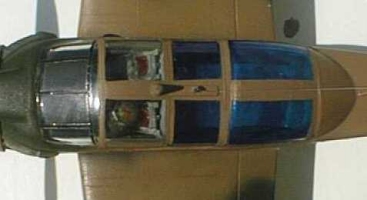
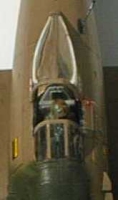
C) Pour some Future floor wax in a container; hold the clear part by the spruce and dip it completely into the Future. When you pull it out of the wax let the excess drip off. Lay the part on a paper towel and cover it with a bowl to keep the dust off as it dries. Inspect it after 24 hours. If it still has cloudy spots, a little more polish work; dip it again. (see photos directly below)
A) When the Future is dry you can now mask the clear parts for painting. Cover the canopy parts with frosted scotch tape. Using a new blade in your hobby knife, trace the canopy frame cutting through the tape. Remove the tape from the framing. Paint the canopy the interior color (usually black) and let it dry. Then attach the parts to the model and fill in gaps as you normally would with any other part. The tape will protect the clear area from sanding and shaping. Then paint the final color. If you're displaying the canopy open, paint the final color, remove the tape and attach to the finished model. TA DA!
B)
Now
if you have a green house canopy, instead of masking and painting, decal the
canopy. Cut clear decal paper into strips as wide as the framing and paint the
interior color followed by the exterior color. Then, simply decal the canopy
frames.
Master
Bubba sez, “24 cans of beer in a
case; 24 hours in a day.' Coincidence? I think not!" Richard J. Tucker
|
|
Photos and text © by Richard J. Tucker
|
|