|
Painting Photo Etched Instrument panels |
||
|
||
|
|
|
Painting Photo Etched Instrument panels |
||
|
||
|
|
|
|
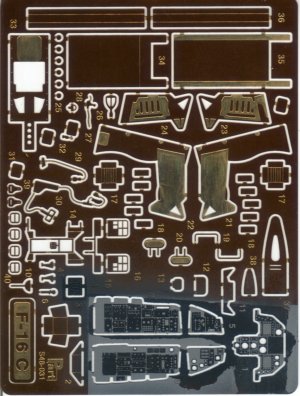
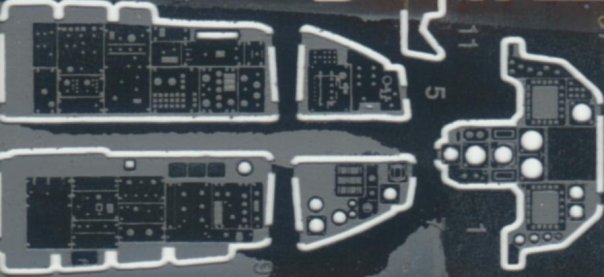
A long time now I've been fiddling about with painting photo
etched instrument panels. My first technique was to spray it black and then use
the weather-wash way to fill in the gray. But the wash colour always showed the
black thru it. Technique two was to spray the gray first, mask everything with
Bare Metal Foil, cut out all the instruments and then spray them black. Drawback
was, it is very time consuming and the foil glue, that softened the acrylics. I
know that a lot of people use the old method of dry brushing,
but I find it messy.
|
|
|
Now my new technique: with the knowledge that acrylic clear varnish is the toughest thing there is, I came to the following way to do my panels. First I clean it, of course. Acrylics bond to metal like nothing else, so the panel is sprayed Tamiya XF-63, dark gray. Now you can clean your airbrush.
By the time your done, the gray is dry. Here's the key point.
Spray a layer of Tamiya clear X22 Acrylic. Clean airbrush. Varnish is dry. Now
it's time to spray the gray.
Experiment and see what works best for you.
Robert Kwikkel
|
|
Photos and text © by Robert Kwikkel
|
|