|
Special thanks to Jeff Dick
for
showing me the stuff needed for this technique.
Like most modellers.....I
have a respect....no....a FEAR!!! of canopies. If it's scratched or
scuffed......all is lost. Recently, I've been buying kits with seams down
the centre of the canopies. This is due to the complicated nature of the shape of the
canopies. The seams obviously have to be removed...but how? After
storing these particular kits to avoid this problem, I figured it was time to
ratchet up the learning curve a bit and face this head on.
Other modellers have
said this is easy to fix......but then again what is easy for them could be
freaky for me....I don't count myself as naturally gifted at this hobby.
Fortunately, I'm
working on a kit with my two preschoolers that has a very junky canopy, so
experimenting on it was no problem as the end result could be no worse than the
crappy canopy that came with this other wise nice little 1/72 Floatplane Cessna
from Arii.
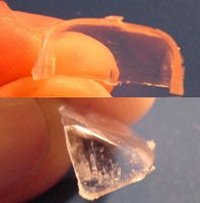
| This is the
forward canopy for the 1/72 Arii Cessna floatplane I'm building with my
kids. Considering it's horrible state right out of the box....I
had no fears of making it any worse from experimenting. this
canopy was so bad I took a modelling file to it...then 400-grit
sandpaper and then 600-grit before I started the process described below
with the 1/48 Academy Su-27 canopy. I ended up cracking this Arii
canopy slightly. |
|
What is needed.....
|
|
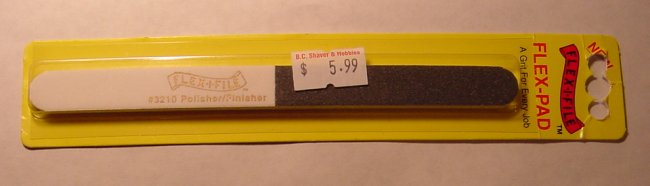
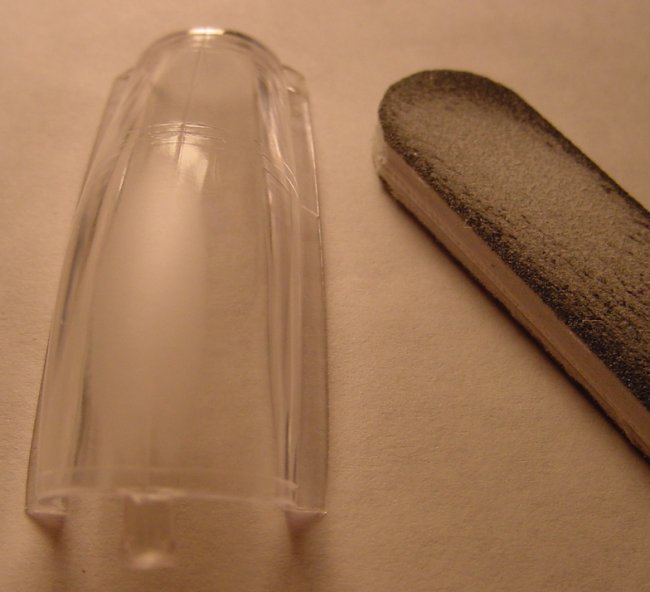
| Above
is a new product from Flexi-File directed at canopy repair. It's a
sanding stick very much like the ones found in cosmetic
departments...but this sanding stick is designed for canopies and is
VERY fine grit. On one side there is a course grit (dark grey in
picture above) and a medium grit (white in the picture above). On
the other side is the fine grit.......actually no grit to speak
of....more like a very very very fine polishing grit. Price CDN$5.99 or
US$4
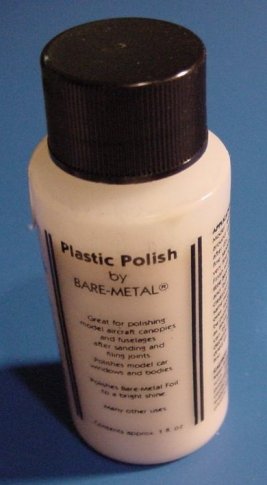
To the right is a Plastic
Polish from Bare-Metal. This liquid is very straight
forward. I put some on a clean dry Kleenex and buffed the
canopy. This product has the same sort of smell as Brasso (brass
polish) and some chrome polishes I've used. So if you can't get
this product where you live, you could experiment with some of the
polishes for chrome or brass, but I'm only making an educated guess from
the smell of this product. Price CDN$4.99 or US$3 |
|
| Addresses.... |
| Bare-Metal
Foil Company
PO Box 82
Farmington Hills, MI
48024
USA
|
Flex-I-File
c/o Creations Unlimited
Products
Dept. P
Grand Rapids, MI 49525
USA |
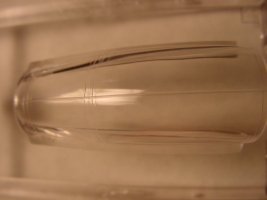
| Here's the
1/48 Academy SU-27 canopy right out of the box......big intimidating
seam down the centre of the canopy. There is raised canopy frames
that should be masked with masking tape or possibly scotch tape to
protect them from the "sanding" process. Also, the
inside of weaker canopies should be filled with "Plaster of
Paris", let to dry to add strength and prevent the canopy from
cracking during the sanding process. |
|
| This
particular canopy is very strong, so I just went ahead with the sanding
process without any "Plaster of Paris" inside of it.
After the course grit was used the canopy seam is removed and the canopy
is foggy where it was sanded, but not really scratched. So the
course grit is not too course.....just course enough to do the job
properly and quickly. This stage only took a five or so minutes. |
|
| Now it is time
to "sand" with the medium grit. The canopy is almost
perfectly see-through after I finish with the medium grit. This
job is going very quickly....and easily. |
|
| Now it is time
for the buffing with the ultra fine side of the "sanding
stick". This again went very quickly and brought the canopy
almost to it's original clear state. The canopy is about 97 to 99%
perfect.....but there are still fine flaws to be seen if I hold the
canopy up to the ceiling light. This stage only took a few
minutes. |
|
 |
 |
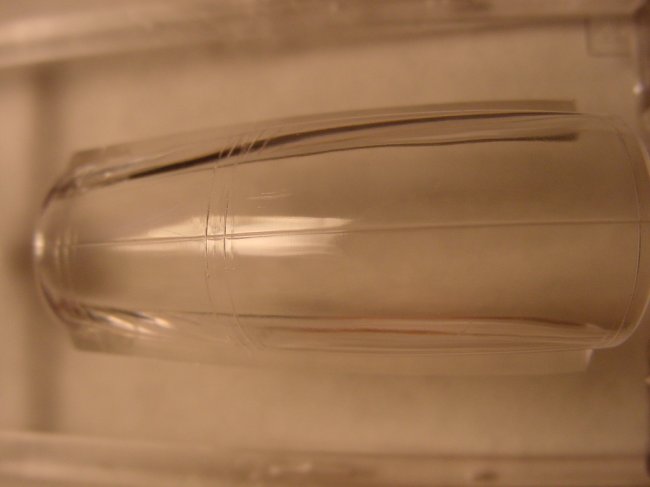
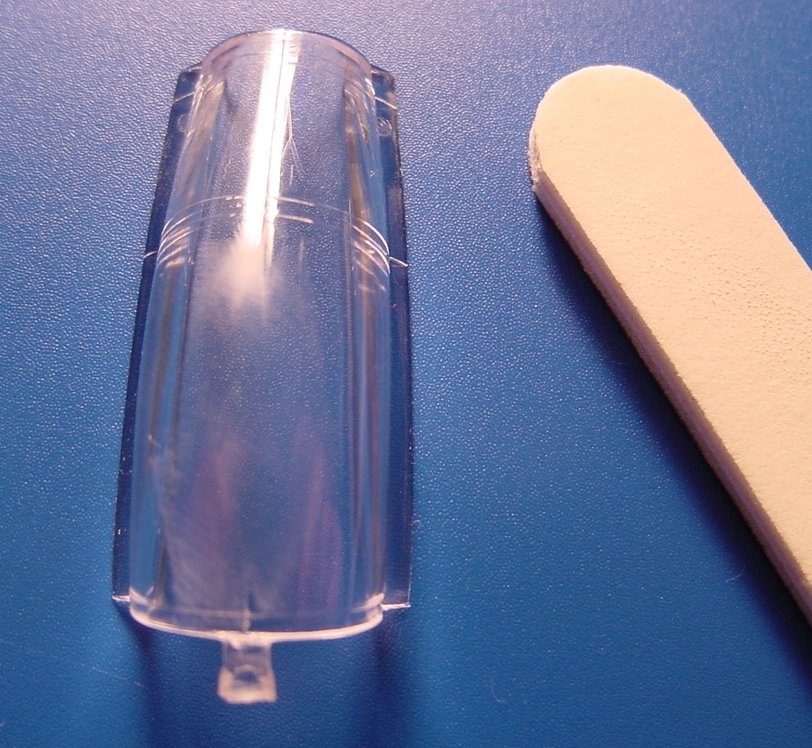
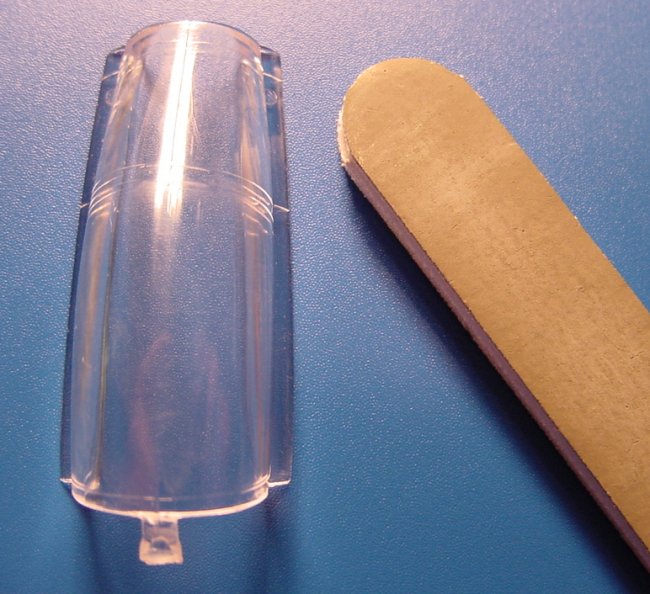
| Two
pictures of the canopy after using the Flexi-File sanding stick......I
have yet to try the Bare-Metal Plastic Polish. |
|
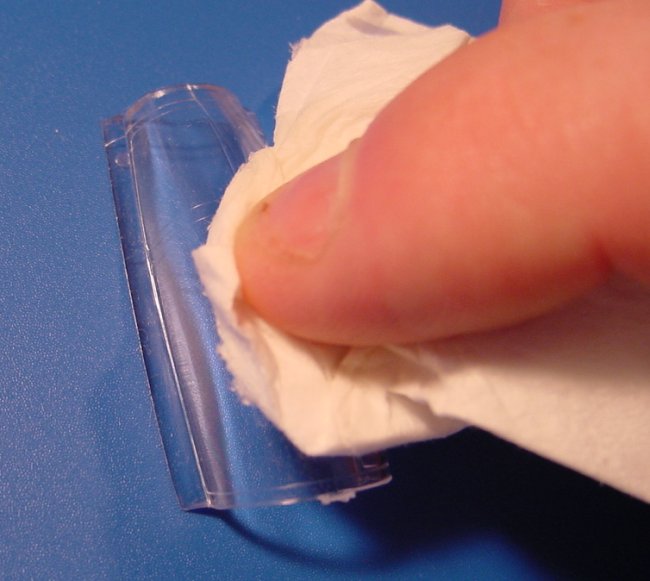
For the Bare-Metal Plastic
Polish.....I simply put some on liberally a dry Kleenex and buffed.
I repeated this process 3 or 4 times. In the end the canopy was as
nice as it was originally....except there was no more seam line. At
this point you could dip the canopy in Future for better protection and
shine or just use the canopy as is. See R.J.Tucker's
"Future" article in the Tools N Tips section here on ARC.
|
|
| Before
and after (before final polishing)....the effect is quite good. I
was not doing the whole canopy....just part of the canopy for this
article. |
 |
|
| Before |
After |
Final note: Some
canopies crack doing this process, so fill the inside with sculpting
clay or maybe play doh to add a bit of added strenght. The sculpting
clay or play doh can be
removed by putting the canopy in water when you are done. I
did slightly crack the canopy on the 1/72 Arii Cessna Float Plane I was
experimenting on, because I didn't fill the back of the canopy for support.
Disclaimer:
If you ruin your canopy....don't expect me to replace it. :-)
Work very slowly and experiment on old canopies from junk kits or buy a cheap
kit to experiment on. Use caution and go slow and you'll be very pleased
with how easy this process is. Also....when I sanded the canopy I held it
in one hand and sanded with the other hand.....this is not shown in the pictures
due to the fact I only have two hands and can't take the picture with one hand
while sanding with the "other" two hands. So don't take the
above photos 100% as they appear.
If you'd like to
use this article in a monthly club newsletter etc....all I ask is you e-mail me
for permission and mention ARC's URL in the article and give me credit..
Steve Bamford
|