|
I use a Minolta 7000 SLR,28mm lens set at f22 and about 1/15 to 1/60
depending on what keeps the camera happy. This camera is child
proof [modeller proof], I have been using this camera for years and I am
extremely familiar with it, so I swear by it, this make this type of stuff
easy. I am sure if I had one of the several other brand names I would
swear by them to, but this is the equipment I have come to know well.
I work on full manual and focus accordingly at a distance of about
12-14"
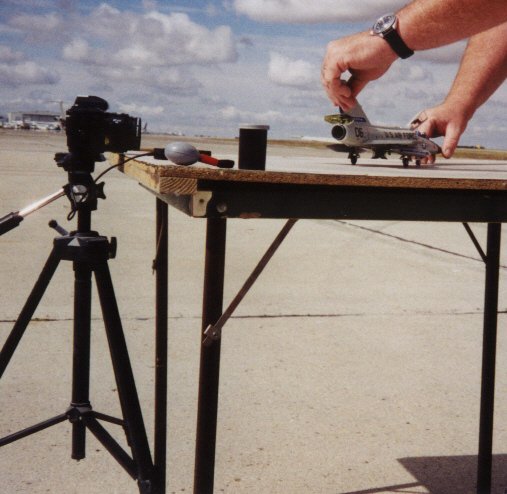
The
camera needs to be about 1.5" from the surface [the fake apron] to
the centre of the lens. This is about 6 scale feet to the centre
of the lens for 1-48. Weather conditions are an important
factor. Partly
cloudy [puffy white ones are nice] shoot your photos about mid day [sun
over head] and little or no wind [we have had a near disaster a few
times]. |
|
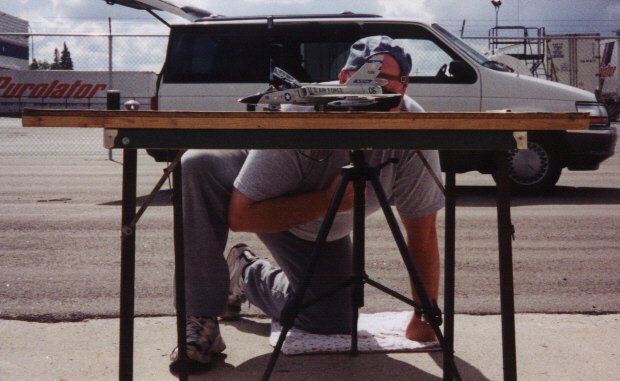
I use an electronic release for the shutter, some cameras use a cable
release, a tripod is a must for consistent steady vibration free shoots.
| camera
height and electronic release |
| Click
on image below to see larger image |
 |
|
 |
|
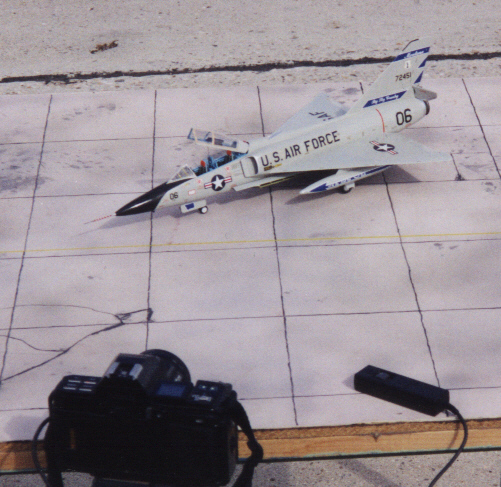
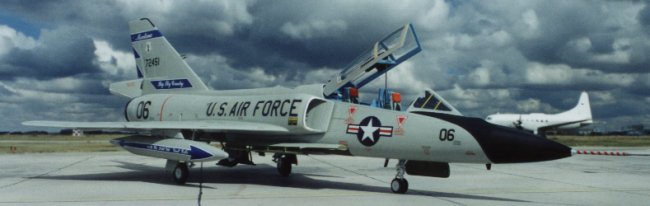
This
is what you get. |
Take a good look through the lens, do you see everything you want
too? You don't want any giant fire hydrants or the occasional giant grass
hopper [yup this has happened]. By setting the camera to f22, the depth of
field will make for a decent background.
 |
Are
the shadows where you want them? Is the angle of the subject what
you
want. Remember not every photo will be great. You will not
get 24 good
photos from a role of 24! Is the base surface clean, little things
can
turn in to BIG things in a hurry! |
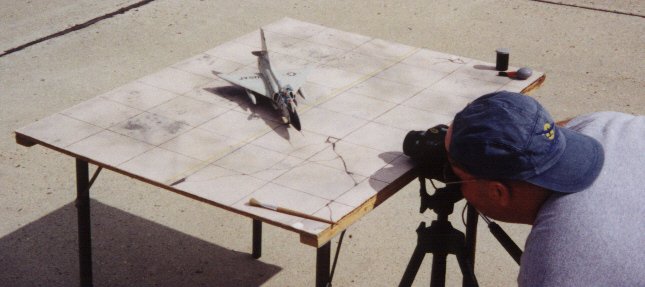
this
photo shows the camera angle [not straight down a tar line], and the
equipment used and the surface of my fake apron.
|
|
The fake apron is a piece of gray art board glued to a pic of particle
board [plywood would be fine too] the frame work around it was added
latter when it started to warp a little. The surface is 30" x
40".The
surface was lightly dusted with a couple of spray cans of grays, from a
height of about 24". The lines were drawn with a HB pencil then over
painted with a brush using the old Testors [square bottle] Rubber
colour. The yellow lines were masked and painted with acrylics. The
staining of the surface was done using the sludge from the bottom of my
brush cleaning thinners jar. It was ramdomly sprinkled and patted around
the board and allowed to dry.
The back ground is something that I have easy access to,it's real and
it's where I work.Wide open spaces of the local airport,with some old
planes in the back ground ,too.
My fake apron and the real apron just blend together .My helper Colin is
used in the following photos to demonstrate this effect.
 |
 |
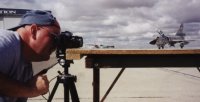
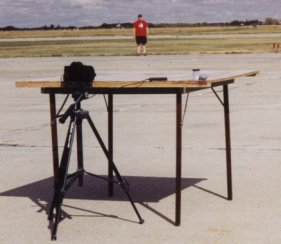
| This
photo shows the table setup and Colin about 150' away at the edge of the
real apron. The CV580 in the back ground of some photos is about
350' from the fake apron. |
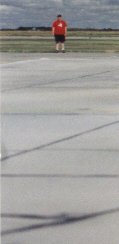
This
photo shows Colin standing on the corner of the fake apron. |
I hope this gives some ideas as to what works for me and my setup for
doing my photos. This is most certainly not the only way to do this ,But
it works for me, I am sure a variation of this might work for you. Give it
a try, experiment and enjoy. Take a friend or two with you, make a day of
it.
I would like to thank Colin Kunkel of our club "Scale Modellers
Association of Saskatoon" for his help during this photo shoot, of our
photo shoot.
I know this will raise some questions and provide some answers for
some, ask, enjoy and take photos and share the results.
Vern
|
|