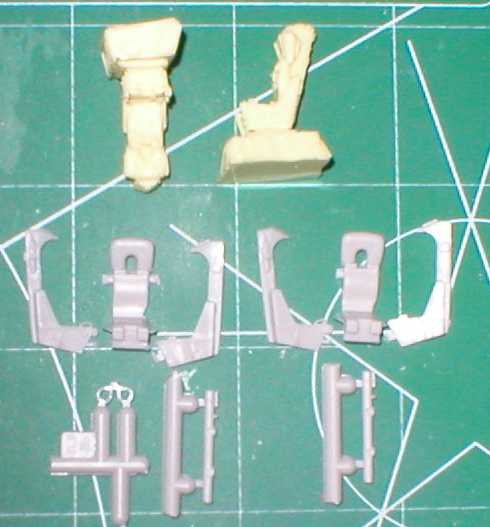
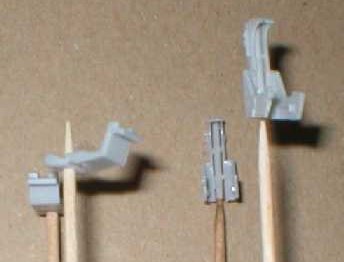
| Usually, we open a kit; look over the plastic blob ID'd in the instructions as the ejection seat; promptly pitch it in the trash; and replace it with an "after market" part. These things can cost half as much as some kits. In recent releases, however, the seats no longer resemble the family room furniture. Here are the 1/72 scale Hasegawa F-4 seat parts; a little detailing, and "BANG! YOU'RE OUT'TA HERE!" |
|
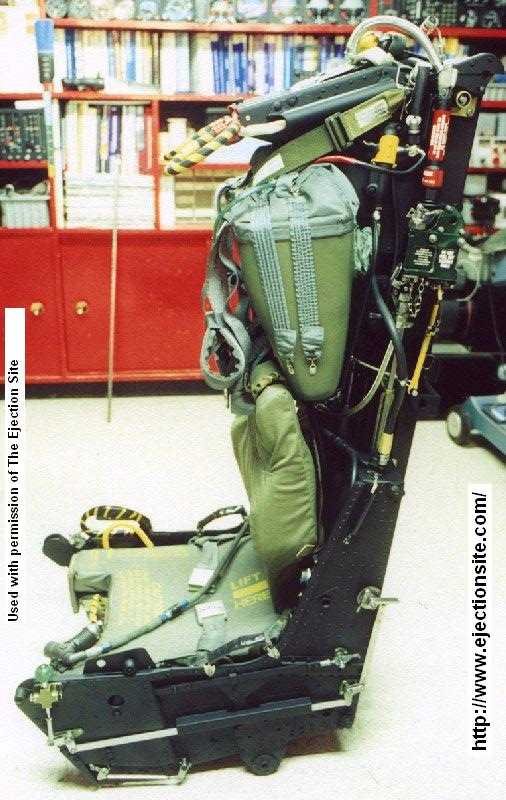
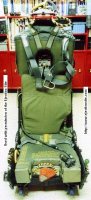
| The techniques in this example work for any seat and every scale. First we have to see what the real thing looks like. The one stop-shopping place is The Ejection Site at
http://www.ejectionsite.com/ by Kevin Coyne. Here you'll find detailed pictures and great info on just about every seat ever employed. The site has a table that cross-references airframe to seat type. Follow along as I detail two F-4 seats. |
|
Click on
images below to see larger images |
|

|
|
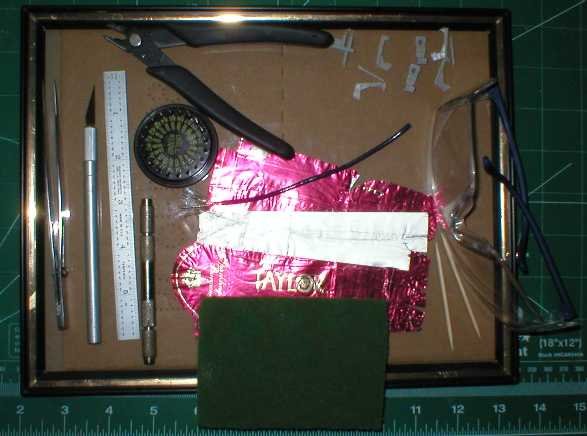
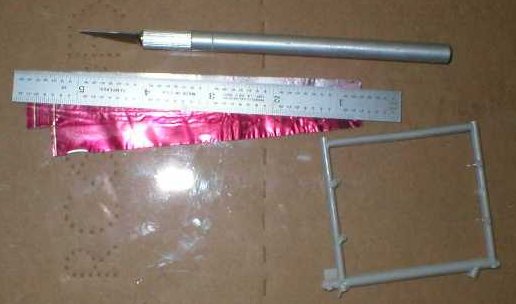
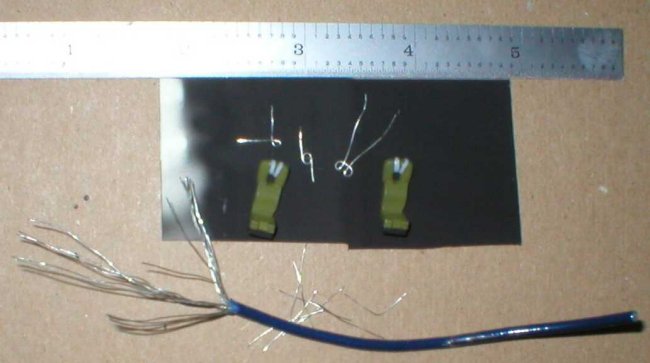
First thing, get your tools and materials together. I used lead foil from a wine bottle for the straps, fine wire for the hardware, and super glue. Some useful tools are: a pane of glass, scrubbing pad (Scotch pad brand), hobby knife with several blades, pin vice with drill bits, hard straight edge, needle-nose tweezers, spruce cutter, a heavy nail clipper (not shown), a fret from a photo-etch kit (not shown), and safety glasses.
Assemble the seats. Because of the parts breakdown, I didn't put the cushions in the frame until I finished the straps. I drilled a small hole in the base of the seat frames, dipped a toothpick in a little super glue and made a handle. (When you're ready to mount the seat, just clip off the toothpick.)
|
|
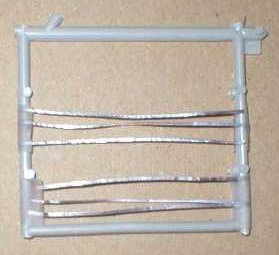
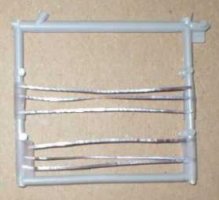
PUT YOUR SAFETY GLASSES ON. (I know, I know.... I'm an old woman about it, but my safety glasses have a very fine scratch from a blade tip that broke off- forewarned!) Rough up the foil with the scrubbing pad, so the paint will stick. Lay the foil flat on the glass and cut several thin strips. Make a bunch more than you think you'll need. Trust me! Most of it will end up in the trash! Save any left over for the next model. Use your artist intuition here; the straps should be no wider than 3 fingers of a scale pilot. (If you try and measure the 3-scale fingers thing, you, really, really need to get out more!) I taped the straps to a parts tree, so I could airbrush them.
|
Click on
images below to see larger images
|

|
|
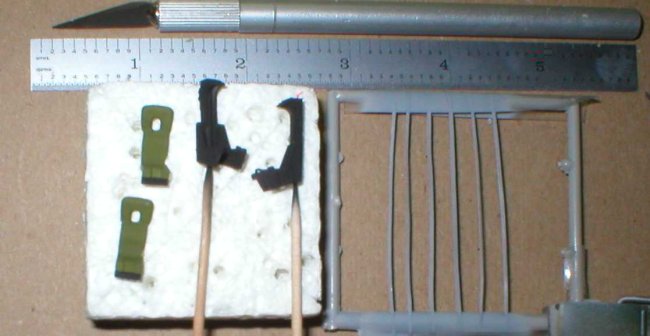
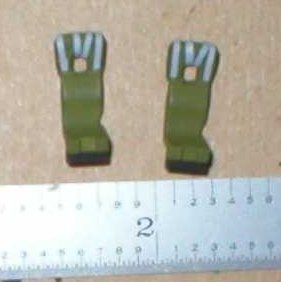
I airbrushed the parts. More artistic license here. The colors of the cushions and straps very from seat to seat. I used Model Master "Interior Green" for the cushions, Lt Ghost Gray" for the straps, and flat black for the frame. Many seats have green seatbelts, but I picked gray for the contrast.
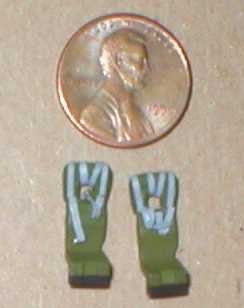
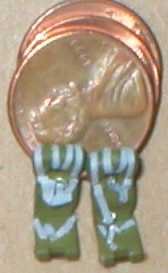
| I started at the top of the cushions. Cut a length off strap and superglue it to top (parachute pack). Just follow the reference picture.
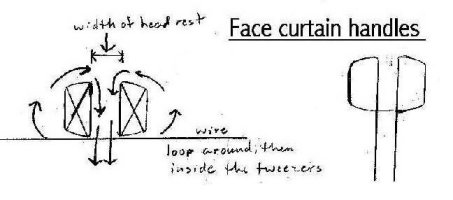
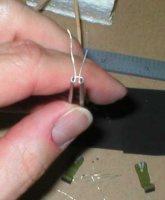
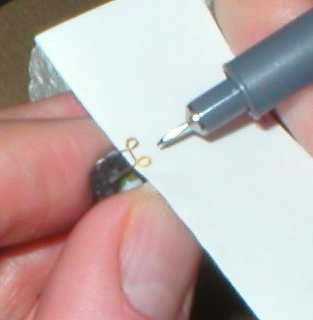
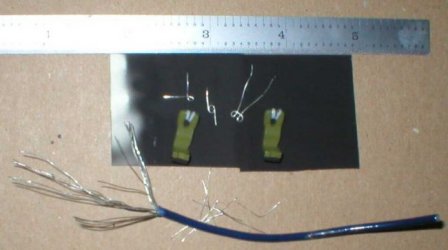
Now, the shoulder straps. We have to make some hardware. Clamp a piece of wire in the tweezers and twist one half around the tweezers' neck to make a D-ring; twist both ends of the wire to make a slide ring. See the diagram. You are looking at the point of the tweezers. Don't trim the wire until you have glued it to the straps. The part will disappear into the carpet portal if you trim it before you mount it!
(The parts in the picture are oversized, so they would show up in the photo.) |
|
|
Click on
images below to see larger images
|

|
 |
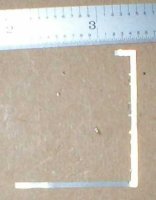
| Cut some more strap and thread it though the appropriate hardware and glue it to the seat. Use the spruce cutter to trim the wire. Remember; follow the reference picture. More artistic license: I'm striving for a casual appearance. The front seat should not be exactly like the back seat. |
|
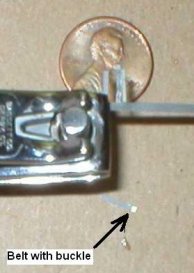
Moving down to the lap belts. Cut a few pieces of strap and dip the end in a drop of superglue. Place the glue end on the scrap piece of stainless steel photo-etch fret.
|
Click on
images below to see larger images
|
|
|
Cut off each belt and trim the steel to a belt buckle size. I use a large nail clipper. Glue the lap belts to the seats. A piece of stretched spruce simulates that hose laying across the bottom cushion.
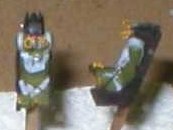
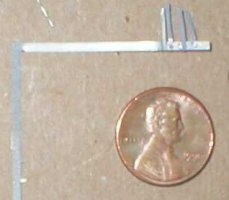
Here, I placed the cushions into the frame. Now, we have to make the face curtain handles and the ejection handle. For the face curtain, wrap the wires around and the between the tweezers' neck.
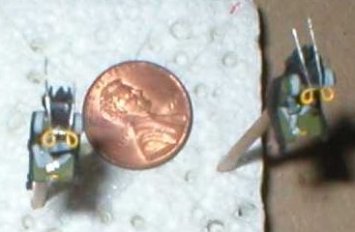
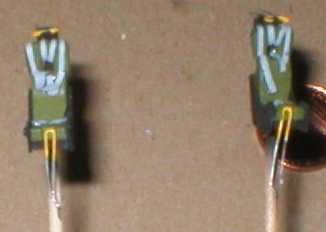
Bend a piece wire into a "U" shape for the ejection handle in the base of the seat. I painted the parts yellow and attached them to the seats. Trim after the glue is set.
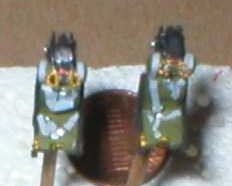
| When dry, I used a drafting pen to add the black strips to the yellow handles and a red one for the red trim. Then I painted the face curtain handles black where they attached to the seat top. Trim the wire. |
| Dry brush the details according to Steve Bamford's
article in the ARC tools 'n' Tips section. Now we, probably, will have to clean up a little bit. To get rid of the shinny glue spots, I used the paint I thinned for airbrushing. Put a drop of paint on a brush and place the brush tip on the spot. The thinned paint will cavitate under the straps and cover all the shinny spot. With handling, some paint will flake off the straps. Just touch-up with a fine tipped brush. DONE! Whew... For beginners, this is certainly going to be frustrating. Parts will go into carpet. Parts won't stick. Super glue will get on everything. Alas, that never changes. Go slow. When you get frustrated, lay it aside. After a few seats, you'll be cranking these things out in an evening. A special thanks to Mr. Kevin Coyne for allowing me to use the ejection seat pictures. |
|
EJECT, EJECT, EJE...................
Richard "RJ" Tucker
|
|