|
Well if you are like
me you have been into modeling for a long time. I started in 1974 with an
old kit of the USS Enterprise from Star Trek. And since the I have been
building these kits and learning new stuff almost every day. One thing
that I used to do for parts with one of my other hobbies ( Special Effects Make
Up) was to cast parts that I would need for the spare parts box. This
included large items like ears noses chins and hands and feet, teeth and even
eyes.
I never thought about doing anything with my modeling until I could not find any
LAU-117s in 1/72nd scale, So I decided to break out my old casting kit
only to find that it had all gone bad and had congealed into several lumps of
RTV gunk and an even more unusable pair of binary chemical bottles that used to
be some expensive casting resins. Oh well. Pays to keep them up to
date and fresh too. Well I went and decided to try two methods for casting
again.
|
Click on
images below to see larger images
|
|
|
 |
|
I bought The Mini
Super Casting Kit™ from Alumilite™ ($28.00 + tax at one of my Local HS)
-
1/4 lb. QuickSet
RTV Silicone Rubber
-
1/2 lb.
Alumilite™ Regular (Tan) Resin
-
1/4 lb.
Alumilite™ Synthetic Modeling Clay
-
1 oz. Measuring
Cups Stir Sticks
(NO MOLD RELEASE INCLUDED!!!!!)
And the Pourable
Urethane SuperSampler™ from Smooth-On. ($25.00 + S&H)
This kit contains
-
2 lbs of ReoFlex™
20 Dry mold rubber
-
2 lbs
Smooth-Cast™ 300 liquid plastic (White)
-
Universal Mold
Release™/ SuperSeal™ combo pack,
-
"How to
Make Molds & Castings" booklet.(Plus a ton of other product info
and tips as well as a pair of samples of the finished products showing the
final appearance of the set products themselves.
I needed to buy a
few items that I can use to test the products.
I went to the local arts n crafts shop and bought some mixing cups; mixing
sticks as well as more "Klean Klay" this is clay that is oil based,
which does not dry out, and will not react to RTV or to Urethane as it does not
contain any Sulfur. (a bad thing if you use certain types of mold material as it
inhibits the action of the cure.
My Local Toy Store and a trip to LEGO™ World in Orlando FL at the Down Town
Disney™ location provided me with LEGO's™ out the wazzoo for making mold
boxes.
Well now, the next
thing is to actually make that which I have been searching for and I did.
Scratch Building the LAU-117 Was not too difficult even though Not many plans
are readily available online showing the pylon in detail However A little work
allowed me to create this lil critter, I also decided since most of my models
are Vipers I needed some more seats for the pits So I broke out my spare
Verlinden ACESII seat and decided to make a casting of it to test the properties
of the two mold systems and casting resins.
This is what I found
1. WHY WE DON’T PULL OUT OUR HAIR CASTING STUFF
I started with the Alumilite product as it was the first one I had on hand as
the other was being shipped. The RTV in the kit is a 10 - 1 ratio
mix. So it was a bit of a disappointment when I got the RTV and realized
that I would not get many molds out of this as the kit don’t make a whole heck
of a lot of stuff to work with.
I built a mold box first with the following items to be cast in a 2 part
mold.
Since I was a dummy
and forgot to document pictures for this one as well as the RTV did not set.
Wasted almost half the Alumilite RTV on this one…
I will describe the steps involved in doing the parts individually.
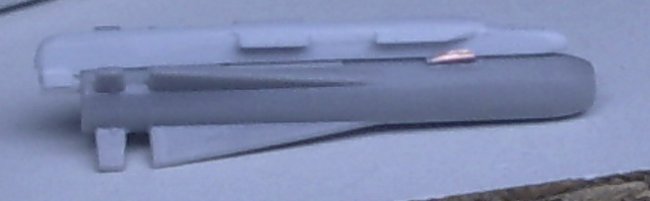
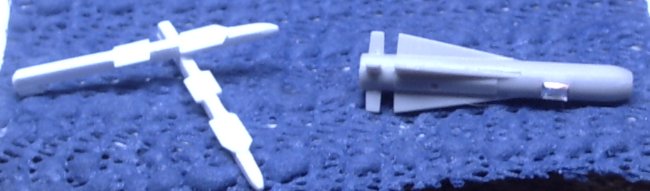
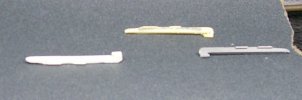
2. LAU-117
(One piece Taco mold)
Scratch build the parts.
Make a mold box from LEGO’s
Temporarily mount the LAU on a piece of plastic that is almost the same length
as the mold box. Be sure to make the demarcation between the part and the
plastic runner visible. I used an old piece of a credit card that was then
thinned down to give a sharp edge to the runner.
The RTV was mixed as per instructions (Silicone Oil was then applied to the part
and runner to allow the part to release from the mold.)
Small dabs of dental wax kept the part suspended vertically and free from moving
in the RTV as it cured.
The product said that it would cure in 4 hours (ha-ha more like 12)
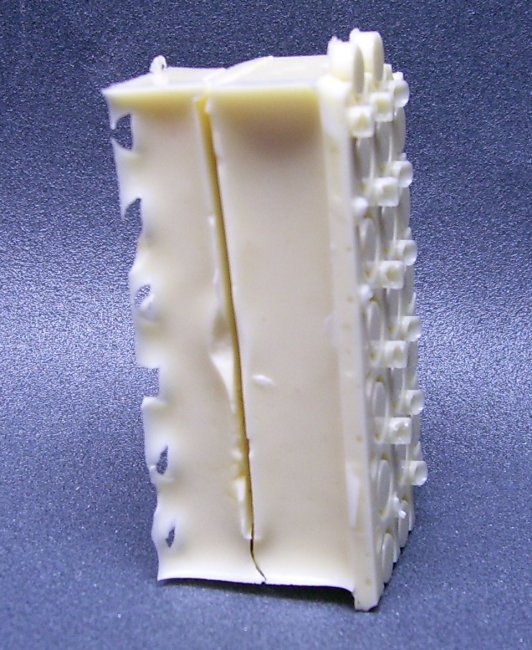
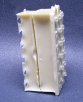
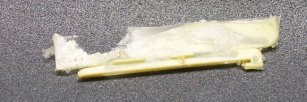
After the RTV cured and I broke apart the mold box I was rewarded with the ivory
colored block of RTV that looked like it ate a credit card.
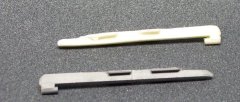
Taking a new #11 blade I carefully sliced the mold to open and hinge it at the
bottom so that it would compress itself closed with the large amount of RTV that
is being used.
Removing the master I set it aside as I might have to recast it someday, then
adding again some mold release to insure that the resin doesn’t bind to the
RTV.
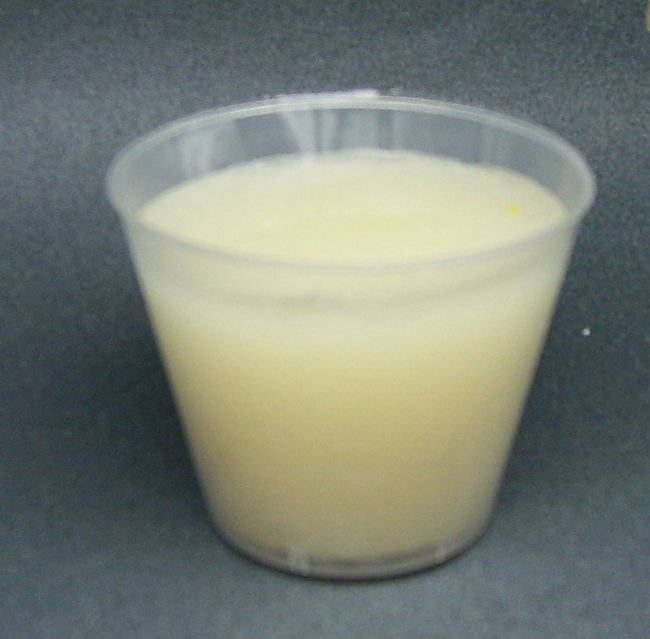
The next step was to mix small amounts of the resin to add to the mold.
The resins are two part resins, Please note that both products have color coded
bottles but only the Smooth-On product also has color matched caps. Do Not put
the covers on the wrong bottles as I watched a friend of mine trying the
Alumilite resin for a project, he did not listen to me and ruined a whole 32 oz
bottle of both A and B…
The resin was measured in a small mixing cup (2ml of each gave me 4ml of resin)
Alumilite will start to set in 5 minutes. SO Go quickly. The mold was
opened slightly to allow the resin to fill the gaps. Once this happened I let
the mold close and gave it a good squeeze to make sure that all the nooks and
crannies were filled too.
After that I added more resin into the split and let the mold set for 15
minutes.
There was no difference between the two products for the mixing and the pouring,
the Smooth-On resin actually took longer to cure but I like the feel of it a bit
better.
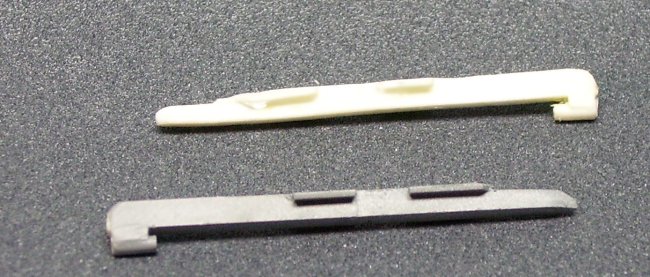
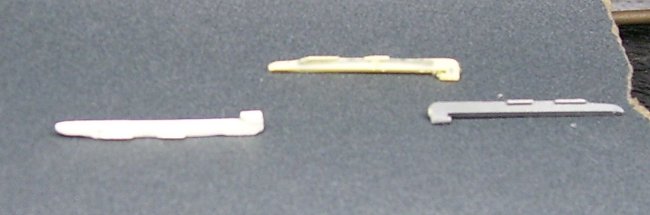
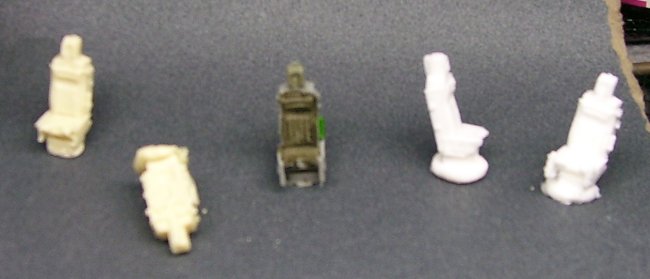
The Prototype in Grey, the Alumilite in Tan and the Smooth-On in White.
Both show the same details and have similar strengths, but as I said The White
is a little easier to see flaws on.
|
Click on
images below to see larger images
|
|
|

|
|
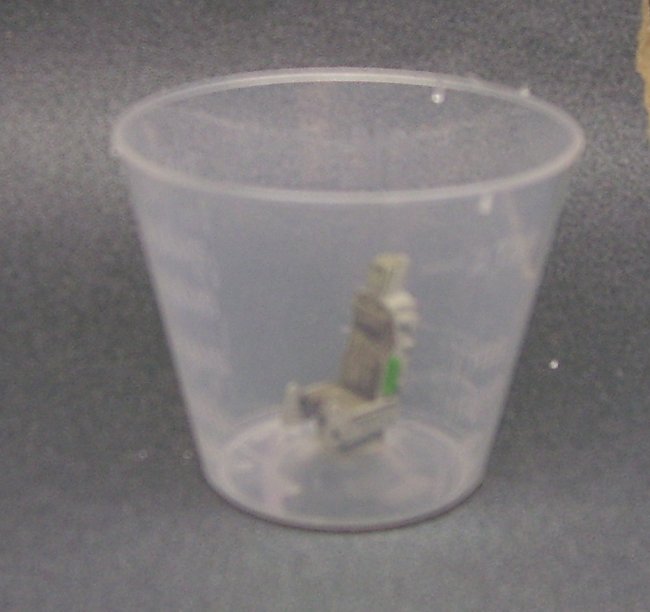
ACESII
Get part to cast.
As stated I am using the excellent 1/72nd scale seat from Verlinden.
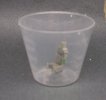
I took a 30cc mixing cup, put a dab of dental wax at the bottom to hold the seat
in place, and then mixed the Smooth-On Urethane; I wanted to try this as a
Pop-Out mold as I was experimenting with one part molds and wanted to test the
Urethanes ability for this.
I dabbed the mold release on the seat to insure that it would not get stuck.
After the release dried, I then mixed 15ml each of A & B in one cup
vigorously. (No Bubbles please!)
Poured onto the seat slowly to insure an even cover as well as to keep bubbles
to a minimum.
The cure is overnight on this one ( 12 – 14 hours)
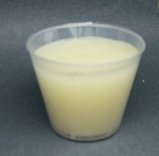
Well I went to sleep then work and when IO came home almost 20 hrs ago the mold
popped out of the cup and I pried the seat out. A little bit of mold release
inside and then the mold was squished to insure that it was again in every nook
and cranny.
Then the resin again was mixed same as before but using 5ml of each to insure
that I had a pry plug at the base of each sear to pull the seat out.
I again tried this using the same method of add a little squish the mold to
release any air pockets add the rest.
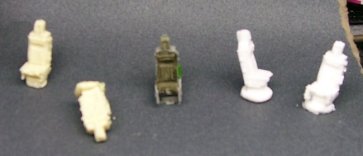
I made a sample of 4 seats with this mold and the results were pretty good
Both the Smooth-On and Alumilite resin pulled great details from the Urethane
mold but the Smooth-On actually pulled all the details better.
For a set of seats that I will be using on my models on my bookshelf These look
pretty good, ain’t looking at selling the seats But might see about selling
the LAU-117’s if I can make a better set of molds.
4. Verdict?
Well I am partially biased by the fact that I paid more for the Alumilite
product than I should have, and that the RTV was not as easy to use as some of
the RTV I have bought from them in the past (bad batch I think).
I still think it is a matter of taste as to what you want to use.
I will say that the Smooth-On products were easier, and had more forgiving
tendencies than the others.
I will stick to the Smooth-On myself.
Web Sites are
http://www.alumilite.com/line.cfm
http://www.smoothon.com/Getting%20Started.asp
Thanks
William
Now to see what else needs casting? In 1/72nd scale…
Intake covers and Plugs with Forms pockets. Large Mouth and Small Mouth.
AOA and Sidewinder Covers.
Exhaust Covers and Plugs GE and P&W.
781 Folders in Open and Closed positions.
Hud Covers, Seats with Covers.
Travel Pods.
And my favorite.
ASPJ Vents and Gun Vents to replace those on the Hase Kits…
|
Click on
images below to see larger images
|
|
|

|
|
|